How do I upload and manage attached documents?
By default, every Neoserra database is provided with 1 GB of attached document storage capacity. Additional storage may be purchased. In this FAQ, we'll discuss how to upload documents, how to edit previously uploaded documents, and how database administrators can manage and allocate this feature.
- Uploading Documents
- Uploading Documents from a Client Record
- Uploading Documents from a Center Record
- Uploading Documents from a Session Record
- Uploading Documents from a Training Record
- Uploading Documents from the Dashboard Page
- Editing Uploaded Documents
- Managing Attached Documents
- File attachments in Email
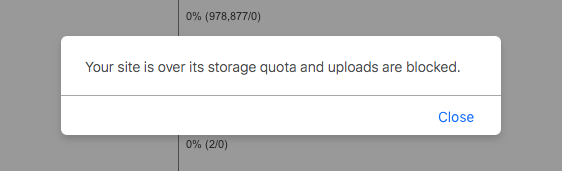
The upload of documents is only allowed if your storage capacity limit has not yet been reached. If you have reached your quota then the following error message will appear when you attempt to upload a document:
Uploading Documents
Attached documents can be associated with all records, including but not limited to client records, conference records, center records, or the dashboard page. For example, you might attach a client's business plan to their client record or a center's standard operating procedures to its center record. If a document is relevant to every Neoserra user, regardless of their home center, then the document could be attached to the dashboard page for universal user access.
Uploading Documents from a Client Record
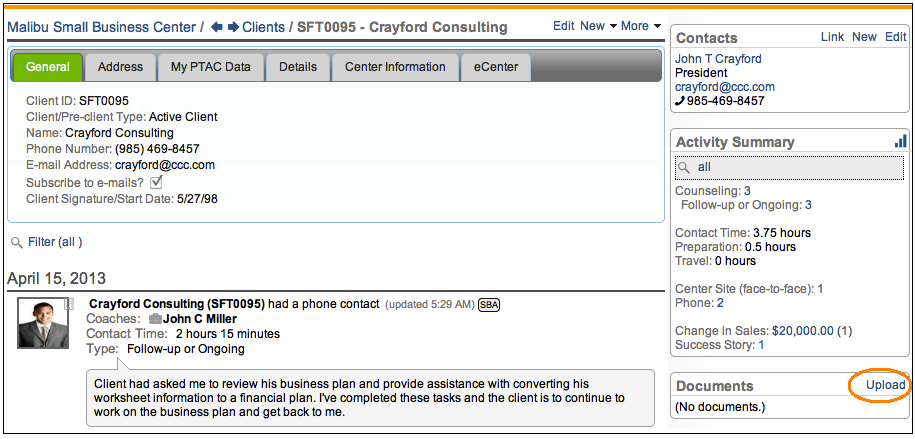
While in view-only mode, you can upload documents by clicking the Upload button located in the Documents right hand panel, as shown in the next graphic:
Clicking the Upload button opens a new window where you can browse for the file(s) to upload, enter a description of the file, associate keywords with the file, and make the file available to the user on eCenter Direct, as shown in the next graphic in orange:

In the screenshot above, highlighted in green, you will notice that you can create folders in which to organize the documents. Folders are system-wide resources, which means if you create a folder called "Client Agreements," all other Neoserra users will be able to see the same folder allowing for consistent folder organization. Folders, once created, can not be deleted. If you stop using a folder, i.e. if there are no longer any files underneath it, then the folder will disappear from the client's Documents pane. It will still be available in the Upload interface, for future use.
If you have multiple documents to upload, you can SHIFT-select multiple documents to be uploaded to Neoserra. All documents uploaded will have the same description, keywords and folder organization:

If you want to give them individual descriptions or organize them differently, then the documents will need to be uploaded individually.
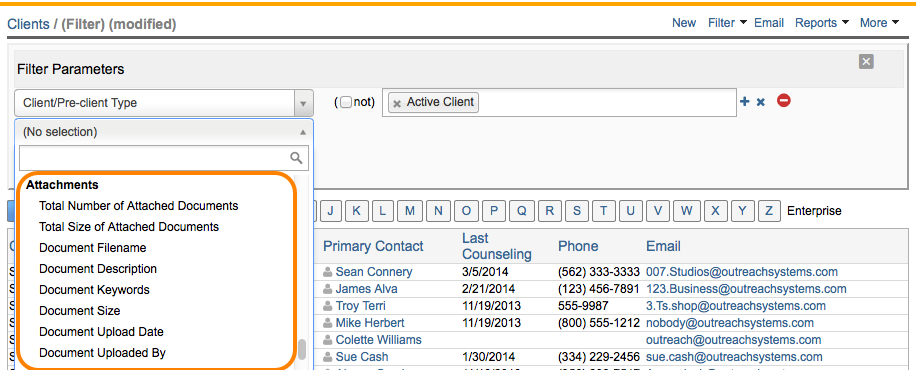
For documents that you attach to client records, all information associated with the upload (document filename, document description, document keywords, document size, document upload date and document uploaded by) can be used in the future as criteria for client filters. Additionally, you can filter for those clients with a certain number of attached documents and/or those clients with a certain size of attached documents:
Uploading Documents from a Center Record
You can also associate documents with your center record, which then may be shared with clients on eCenter Direct. Go to View|Centers and click on your center. In the right hand margin, within the "Documents" panel you will see the option to upload. When you upload your document, you will have six options for eCenter availability:
| Any user | Choose this option to make the document available to anyone visiting eCenter, regardless of whether or not they have any association with your center. |
| Any logged-in user | Choose this option to make the document available to any user that is logged in to eCenter (i.e. has a contact record in Neoserra)—even if the user is not associated with a client record in Neoserra. |
| Any client | Choose this option to make the document available to only those logged-in users whose contact records are associated with client records (not pre-client records) in Neoserra. |
| Active clients only | Choose this option to make the document available to only those logged-in users whose contact records are associated with active client records in Neoserra. |
| Inactive clients only | Choose this option to make the document available to only those logged-in users whose contact records are associated with inactive client records in Neoserra. |
| Pre-clients only | Choose this option to make the document available to only those logged-in users whose contact records are associated with pre-client records in Neoserra. |
If you don't want to share the document on eCenter Direct, then you can choose "Not accessible on eCenter." On the center's document upload interface, there is one other decision you must make when posting documents to eCenter from center records: you will need to decide whether or not logged-in users belonging to other centers in your program (assuming there are any) will be allowed to access the document:

If you set the Cross-center availability to "Only users of this center", then only logged-in users whose contact records are owned by the center record will see the document. Of course, if you allow any user to access the documents, then no center restrictions will be applied. As with documents posted from the dashboard, all documents posted to eCenter from center records are displayed on eCenter's "Library of Documents" page, and can be linked to in your email messages.
Uploading Documents from a Session Record
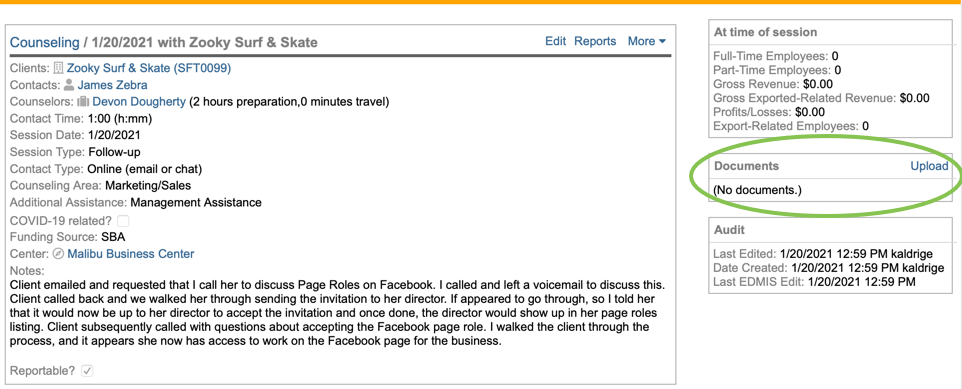
You can upload a document directly to a session record from the read-only view screen for that record:
Alternatively, you can upload documents to a session record from the data stream view:
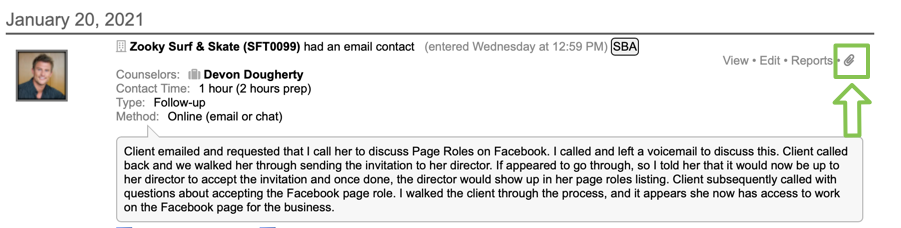
And, of course, documents can also be attached to session records if you send them into the system via the postbox feature.
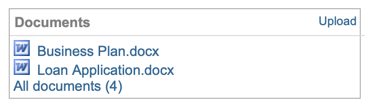
Documents uploaded to a session record will be associated with that session, but these documents are also available from the client record:
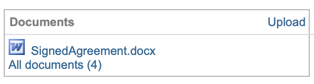
Clicking on the link "All documents(4)" will show those documents uploaded both to the client record and all documents uploaded to the sessions records associated with that client:
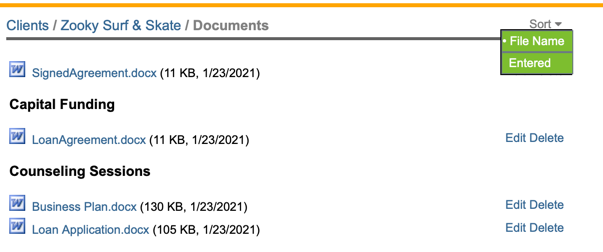
The documents are separated into sections based upon where they were imported and they be sorted within each section.
Uploading Documents from a Training Record
When you choose to attach a document to a training event record, there are again several ptions for eCenter availability:

Each option is described in greater detail below:
| Any logged-in user | Choose this option if you want the training materials to be available only to logged-in eCenter users (i.e. users that have a contact record in your Neoserra database). |
| Any user | Choose this option if you want the training materials to be available to anyone browsing eCenter's training events calendar. |
| Attendees only | Choose this option if you want the training materials to be available only to those logged-in eCenter users who are listed as "Attended" in the training event record's attendee list. In other words, you intend for the materials to only be available after the event has taken place. |
| List members only | Choose this option if you want the training materials to be available to anyone on the attendee list in the training event record. |
| Not accessible on eCenter | Choose this option if the training materials are only intended for internal purposes and should not be available on eCenter. |
| Paid registrants only | Choose this option if you want the training materials to be available to anyone on the attendee list who has paid for the event - regardless of whether they attended the event or not. |
| Waitlisted/Registered/Attended members only | Choose this option if you want the training materials to be available only to those logged-in eCenter users who are either listed as "Attended", "Registered" or "Waitlisted" in the training event record's attendee list. |
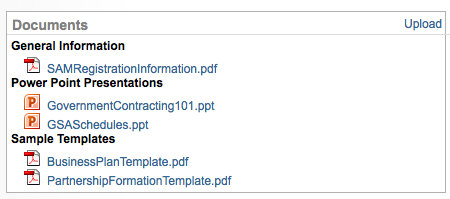
Documents posted to eCenter, from training event records, are displayed wherever the event is found (assuming the eCenter visitor has the appropriate permissions to view the document.) For example, below you will see the documents available to all users associated with the "How to do business in the City of Santa Barbara" event:

Uploading Documents from the Dashboard Page
Documents that are already uploaded to the dashboard page of Neoserra are available to all users, regardless of their permissions. However, only database administrators can upload new documents to this area of Neoserra:
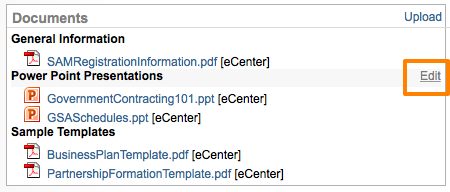
Documents will be listed in alphabetical order in the folder to which they were saved. Folders are also listed in alphabetical order. You can rename a folder by hovering over the folder name and then choosing the "Edit" option:
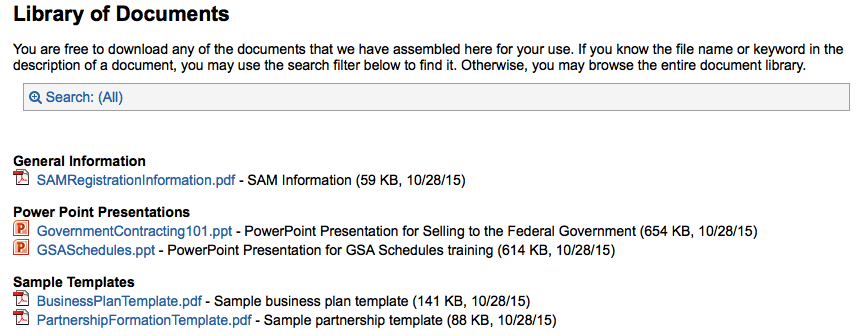
Documents posted to the dashboard page can additonally be displayed on eCenter's "Library of Documents" page where they will retain the same folder organization:
Editing Uploaded Documents
Double-clicking the name of an attachment opens a copy of the attachment. If you make and save edits to this copy, you are not editing the version saved to Neoserra. You'll need to upload the new version of the document if you want the recent edits to be reflected in Neoserra.
Managing Attached Documents
Database administrators also have control over the size and types of files that can be uploaded. From the "General Settings" area of the global configuration settings (Administration|Configuration|General Settings), administrators can designate the maximum file size per attachment. They can also designate which types of files are not allowed for upload for security reasons.
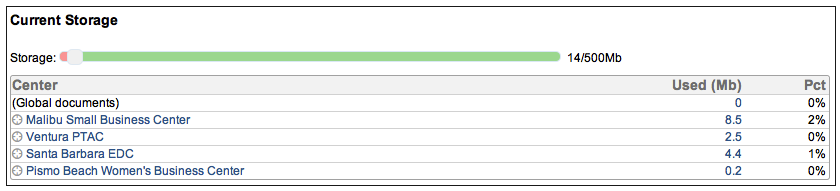
Administrators can see what percentage of your storage allocation is currently being used by choosing Administration|Status:
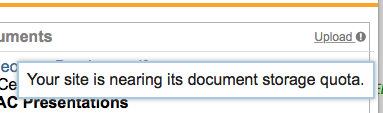
Furthermore, if you are nearing your storage capacity limit, then the all users will see the following warning message when they hover over the "Upload" link:
Database administrators in administrator-mode can view, query, or delete uploaded documents by selecting Administration|Configuration|Document Attachments. Documents that are marked for deletion will be deleted from the system at midnight, thus allowing you to restore the document if necessary.
The standard filtering interface is presented with a few additional enhancements:
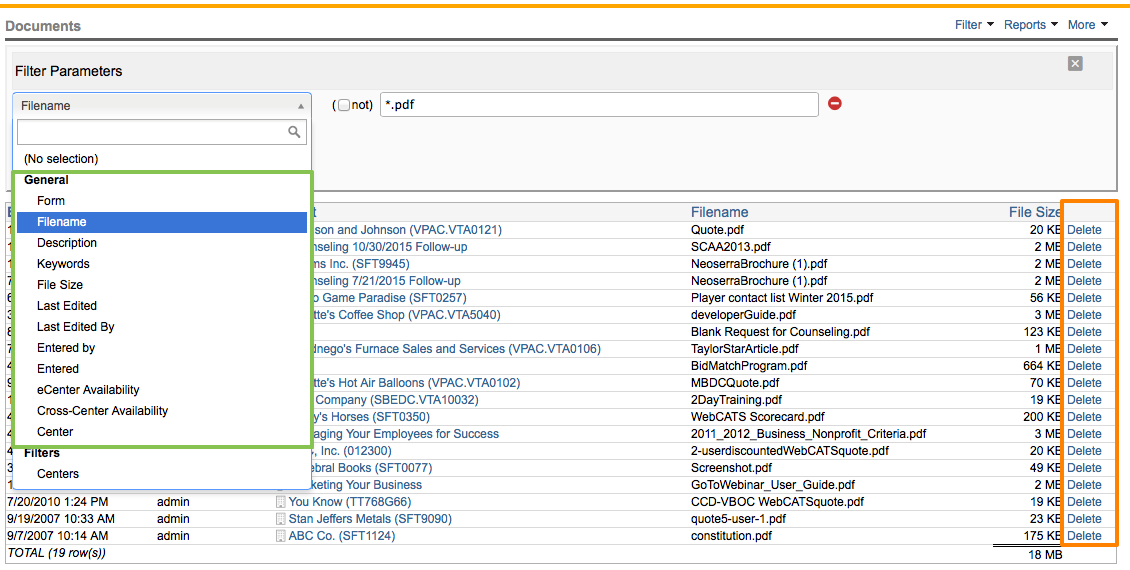
As shown in green, you can create a filter for certain types of documents. In the example above we are looking for all PDF documents in the database. To search for all documents of a certain type, you will want to use the asterisk wildcard followed by the desired extension. In the example above, we are looking for "*.pdf" where the asterisk represents any filename followed by the .pdf extension. If you wanted to search for all documents with the words "financials" then you could search by using the wildcard at the start and end of the phrase. So your filter would contain: "*financials*
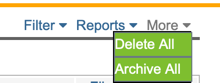
As shown in orange, you can delete individual files, or you can select More|Delete All to delete all the items displayed in the filter view. Keep in mind that the documents won't actually be gone, until midnight.
The "Entered by" column shows you who uploaded the file, whereas the "Object" column shows you where the file is located. Keep in mind that files can be attached to almost all record types, from clients and contacts to training events and to sessions. If there is nothing listing the in "Object" column, then it means that the file has been uploaded to the dashboard by an administrator.
Note for SBDC/WBCs: When you are looking at all documents, then you will see not only those documents uploaded by the users, but you will also see any documents attached to your SBA exports. These documents are shown here for your reference, but keep in mind that they do not impact your storage allocation.
Archiving Documents
On the Administration|Configuration|Document Attachments page, the administrator can also use the "More|Archive All" menu option to download the documents included in the filter:
However, it should be noted that this option is only available if your filter includes less than 200 documents. Selecting this option will create an archive.zip file including all documents displayed in the filter.
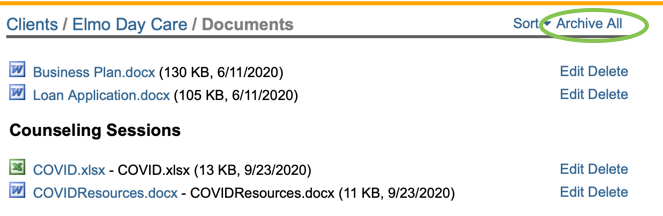
Alternatively, administrators have an option to archive up to 200 documents from the client's document panel. On the client record, click "All document (X)" to see all documents associated with the client record:
Once the documents have been archived, you can consider deleting them from Neoserra to free up space. The archival process, in and of itself, does not delete the archived records.
Assuming you are in administrator-mode, then you will see the "Archive All" option at the top of the screen:
Since the archive file will include documents from different areas in Neoserra and it will include different types of documents, they will be saved off as a .zip file that mimics the internal structure in Neoserra, with each document name including the internal ID to avoid possible duplications in naming convention:

File Attachments in Email
When counseling sessions are added via email (using the postbox feature), things like logos in signatures may count as attachments and eat away at your storage allocation. This happens when you send the logo with your signature in each email message rather than having the image as a link to Web resource (URL). Using a URL is much better since it takes the load off the mail systems, stops needless copies of the image, and allows the browsers/mail applications to cache the object. Please refer to the FAQ titled: How to link your logo in your signature block.
Want more? Browse our extensive list of Neoserra FAQs.